Open Video Workbook - Archived April 29th
- Introduction
- Overview
- How to Use the Open Video Workbook
- Help Create More Open Video Modules
- Subtitling
- Terms & Techniques: Subtitling
- Case Study: Into the Fire
- Hands-On: Creating Subtitles with Amara
- Resources: Subtitling
- Creating a DVD
- Case Study: Straight-to-DVD Distribution
- Hands-On: DVD Authoring
- Resources: DVDs and Free Software
- Online Distribution
- Case Study: Engage Media
- Hands-On: Uploading a Video with Plumi
- Resources: Online Video Distribution
- Create an Open Video file
- Terms & Techniques: Open Video Files
- Hands-On: Creating Open Video Files with FireFogg
- Hands-On: Creating Open Video Files with Miro Converter
- Resources: Making the Case for Open Video
- Expanding Web Video
- Terms & Techniques: Expanding Web Video
- Case Study: Popcorn Maker
- Hands-On: Popcorn Maker Tutorial
- Hands-On: Crafting your own Popcorn Maker experience
- Hands-On: Matching Events in Popcorn Maker and Popcorn.js
- Case Study: Popcorn.js
- Hands-On: Getting started with visual content in HTML
- Hands-On: Including video in HTML5
- Hands-On: Adding a time-based footnote with popcorn.js
- Resources: Taking Popcorn Further
- Projection
- Terms & Techniques: Video Projection
- Case Study: Projection
- Hands-On: Video Projection Mapping with LPMT
- Resources: Projection
- Editing Video
- Case Study: Video Editing for The Record
- Hands-On: Editing an Interview with Kdenlive
- Transcoding and Video Codecs
- Hands-On: Transcoding Files with FFmpeg
- Hands-On: Using a Graphical User Interface vs Command Line
- Streaming
- Hands-On: Streaming Video with VLC
- Resources: Streaming
- Resources: Open Video Codecs
- Train the Trainer
- Teaching Open Video
- Appendix
- About the Open Video Workbook
- Outlook: The Politics of Code
- Glossary
Hands on - Getting started with HTML
Objective
Learn the basic structure of a web page and how to include an image
Background
HTML stands for HyperText Markup Language and is the basis of almost every page on the internet. For example, if I were writing the homepage to my website, I might start with something like:
<!DOCTYPE html>
<html lang="en">
<head>
<title>My Web Page 1</title>
</head>
<body>
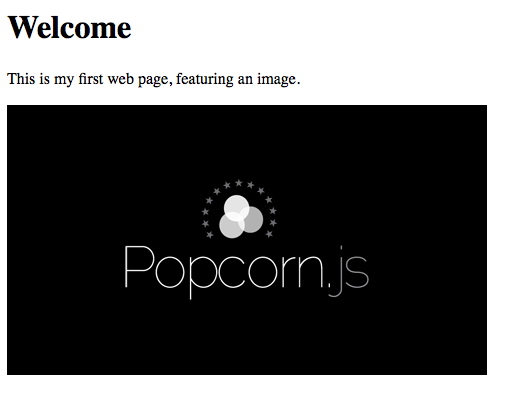
<h1>Welcome</h1>
<p>This is my web page, featuring an image using the img tag.</p>
</body>
</html>
To learn more about the structure and different kind of tags used in this example, have a look at: https://p2pu.org/en/groups/html-introduction/content/basic-markup/.
A web browser (Firefox, Chrome, Internet Explorer, Opera, Safari, and others) converts this HTML into a page with a header, a paragraph and an image.
Task
You can see how the above example looks at: http://jsbin.com/odemem/latest. Click 'Edit in JS Bin' on the top right to see and edit the HTML source code in an online text editor.
Let's make that a little more personal.
Find an image that exists somewhere online and copy its URL. For most images online, you can right click the image and select 'Copy Image Location/URL/Address' (in Firefox/Chrome/Safari). Now back at the jsbin page, change the src URL of the img tag (the text between quotes after "src=") for your image's URL. See the change in the preview on the right? Nice one! You've now got a web page displaying your own custom image!